#tag
Webpack的DevServe、VueCLI、Vite的笔记 devServe : {contentBase : path.resolve (__dirname, 'public' )hot : true
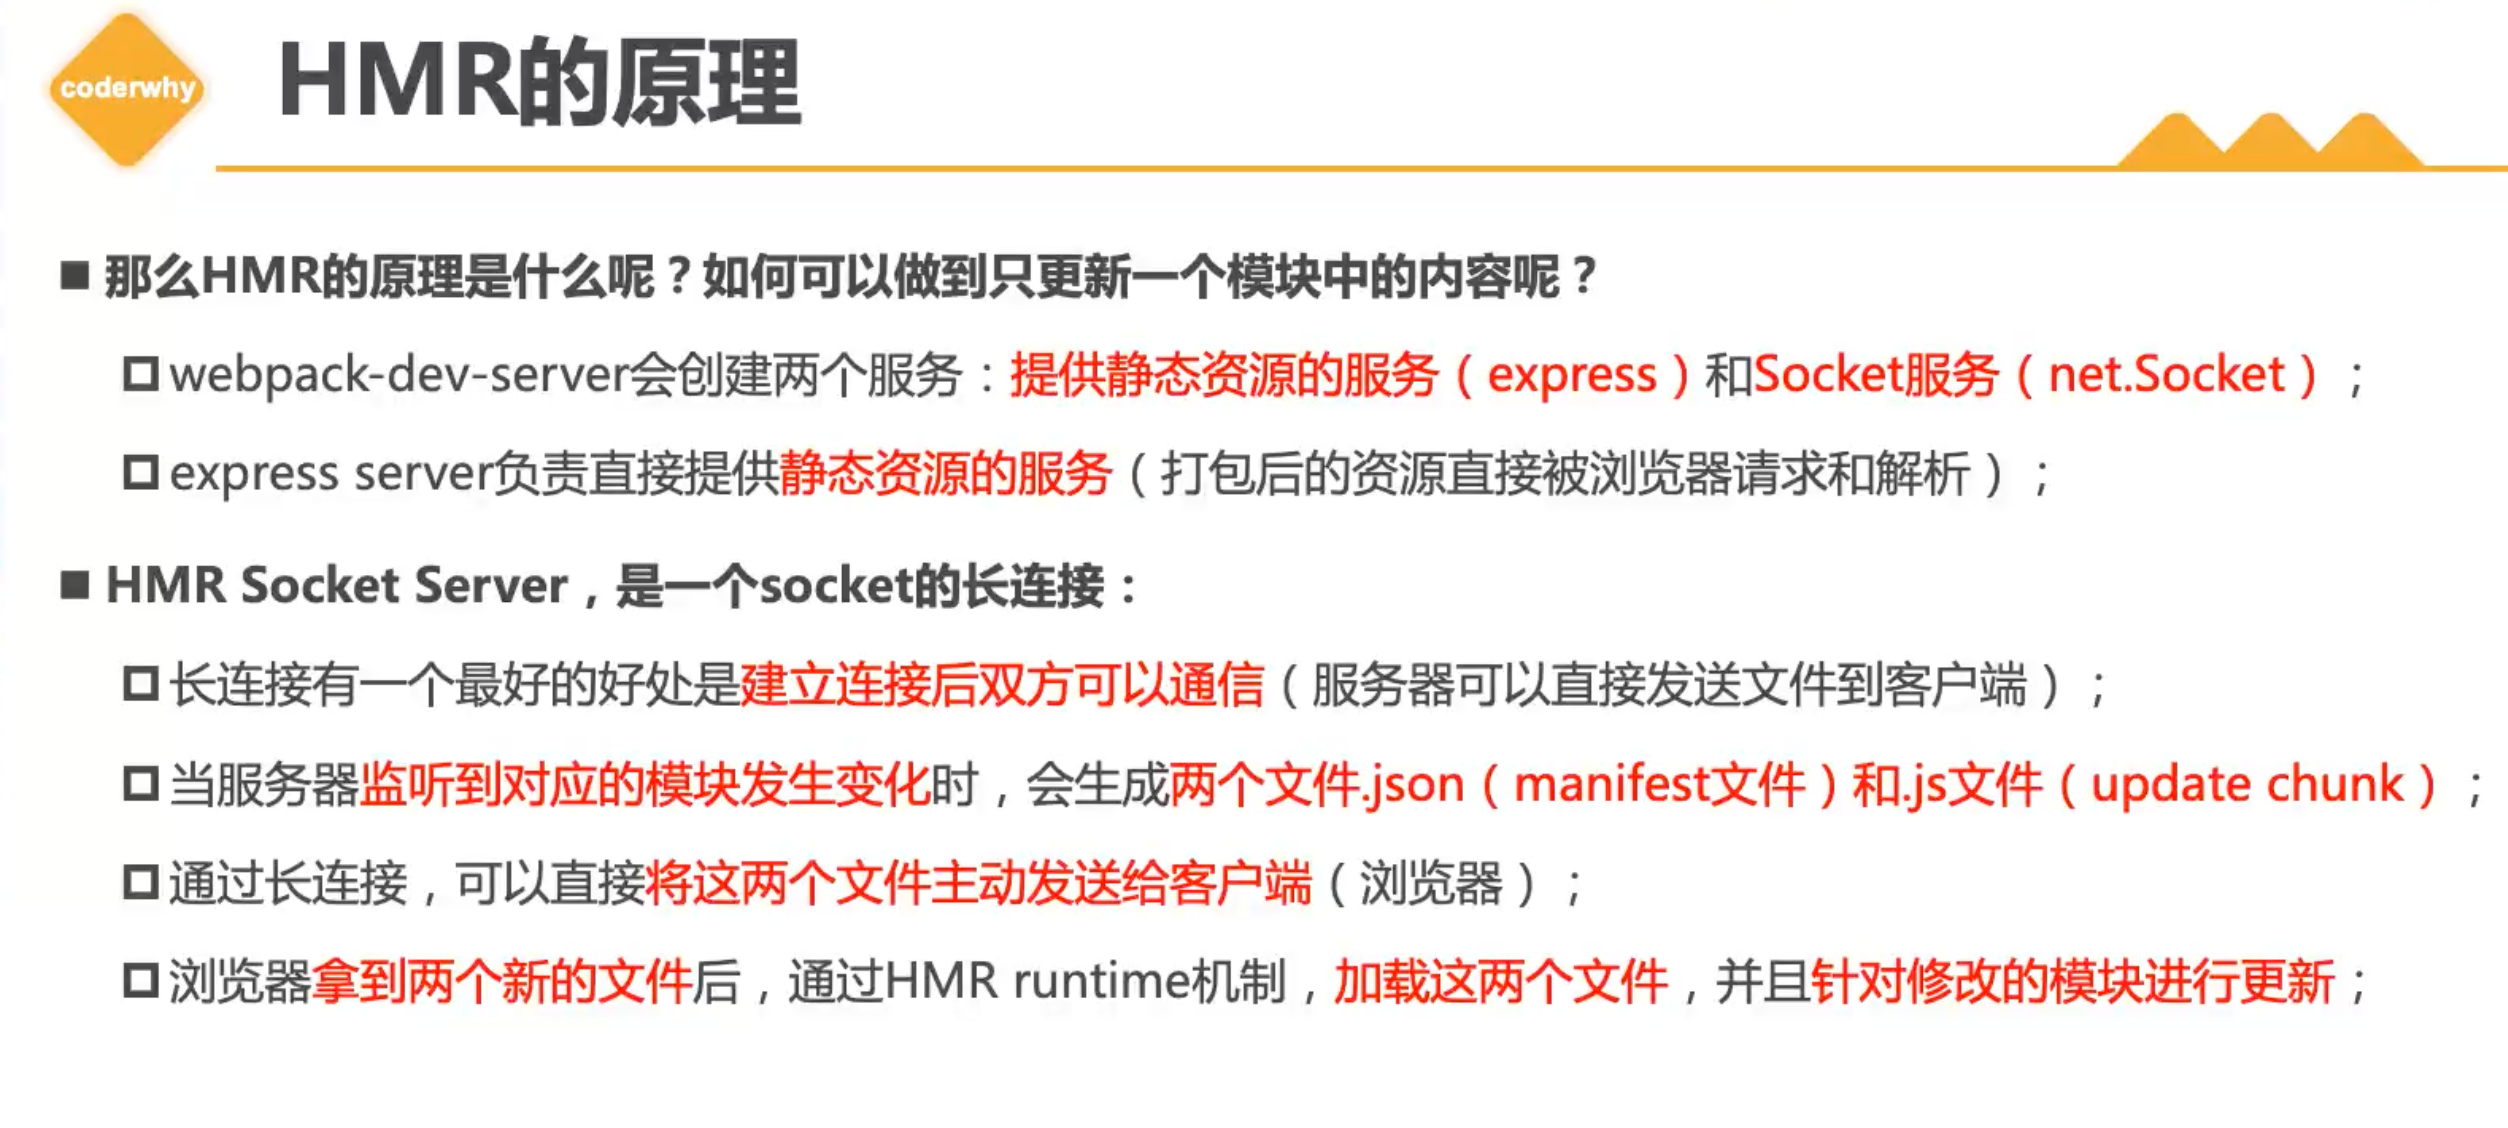
开启HMR
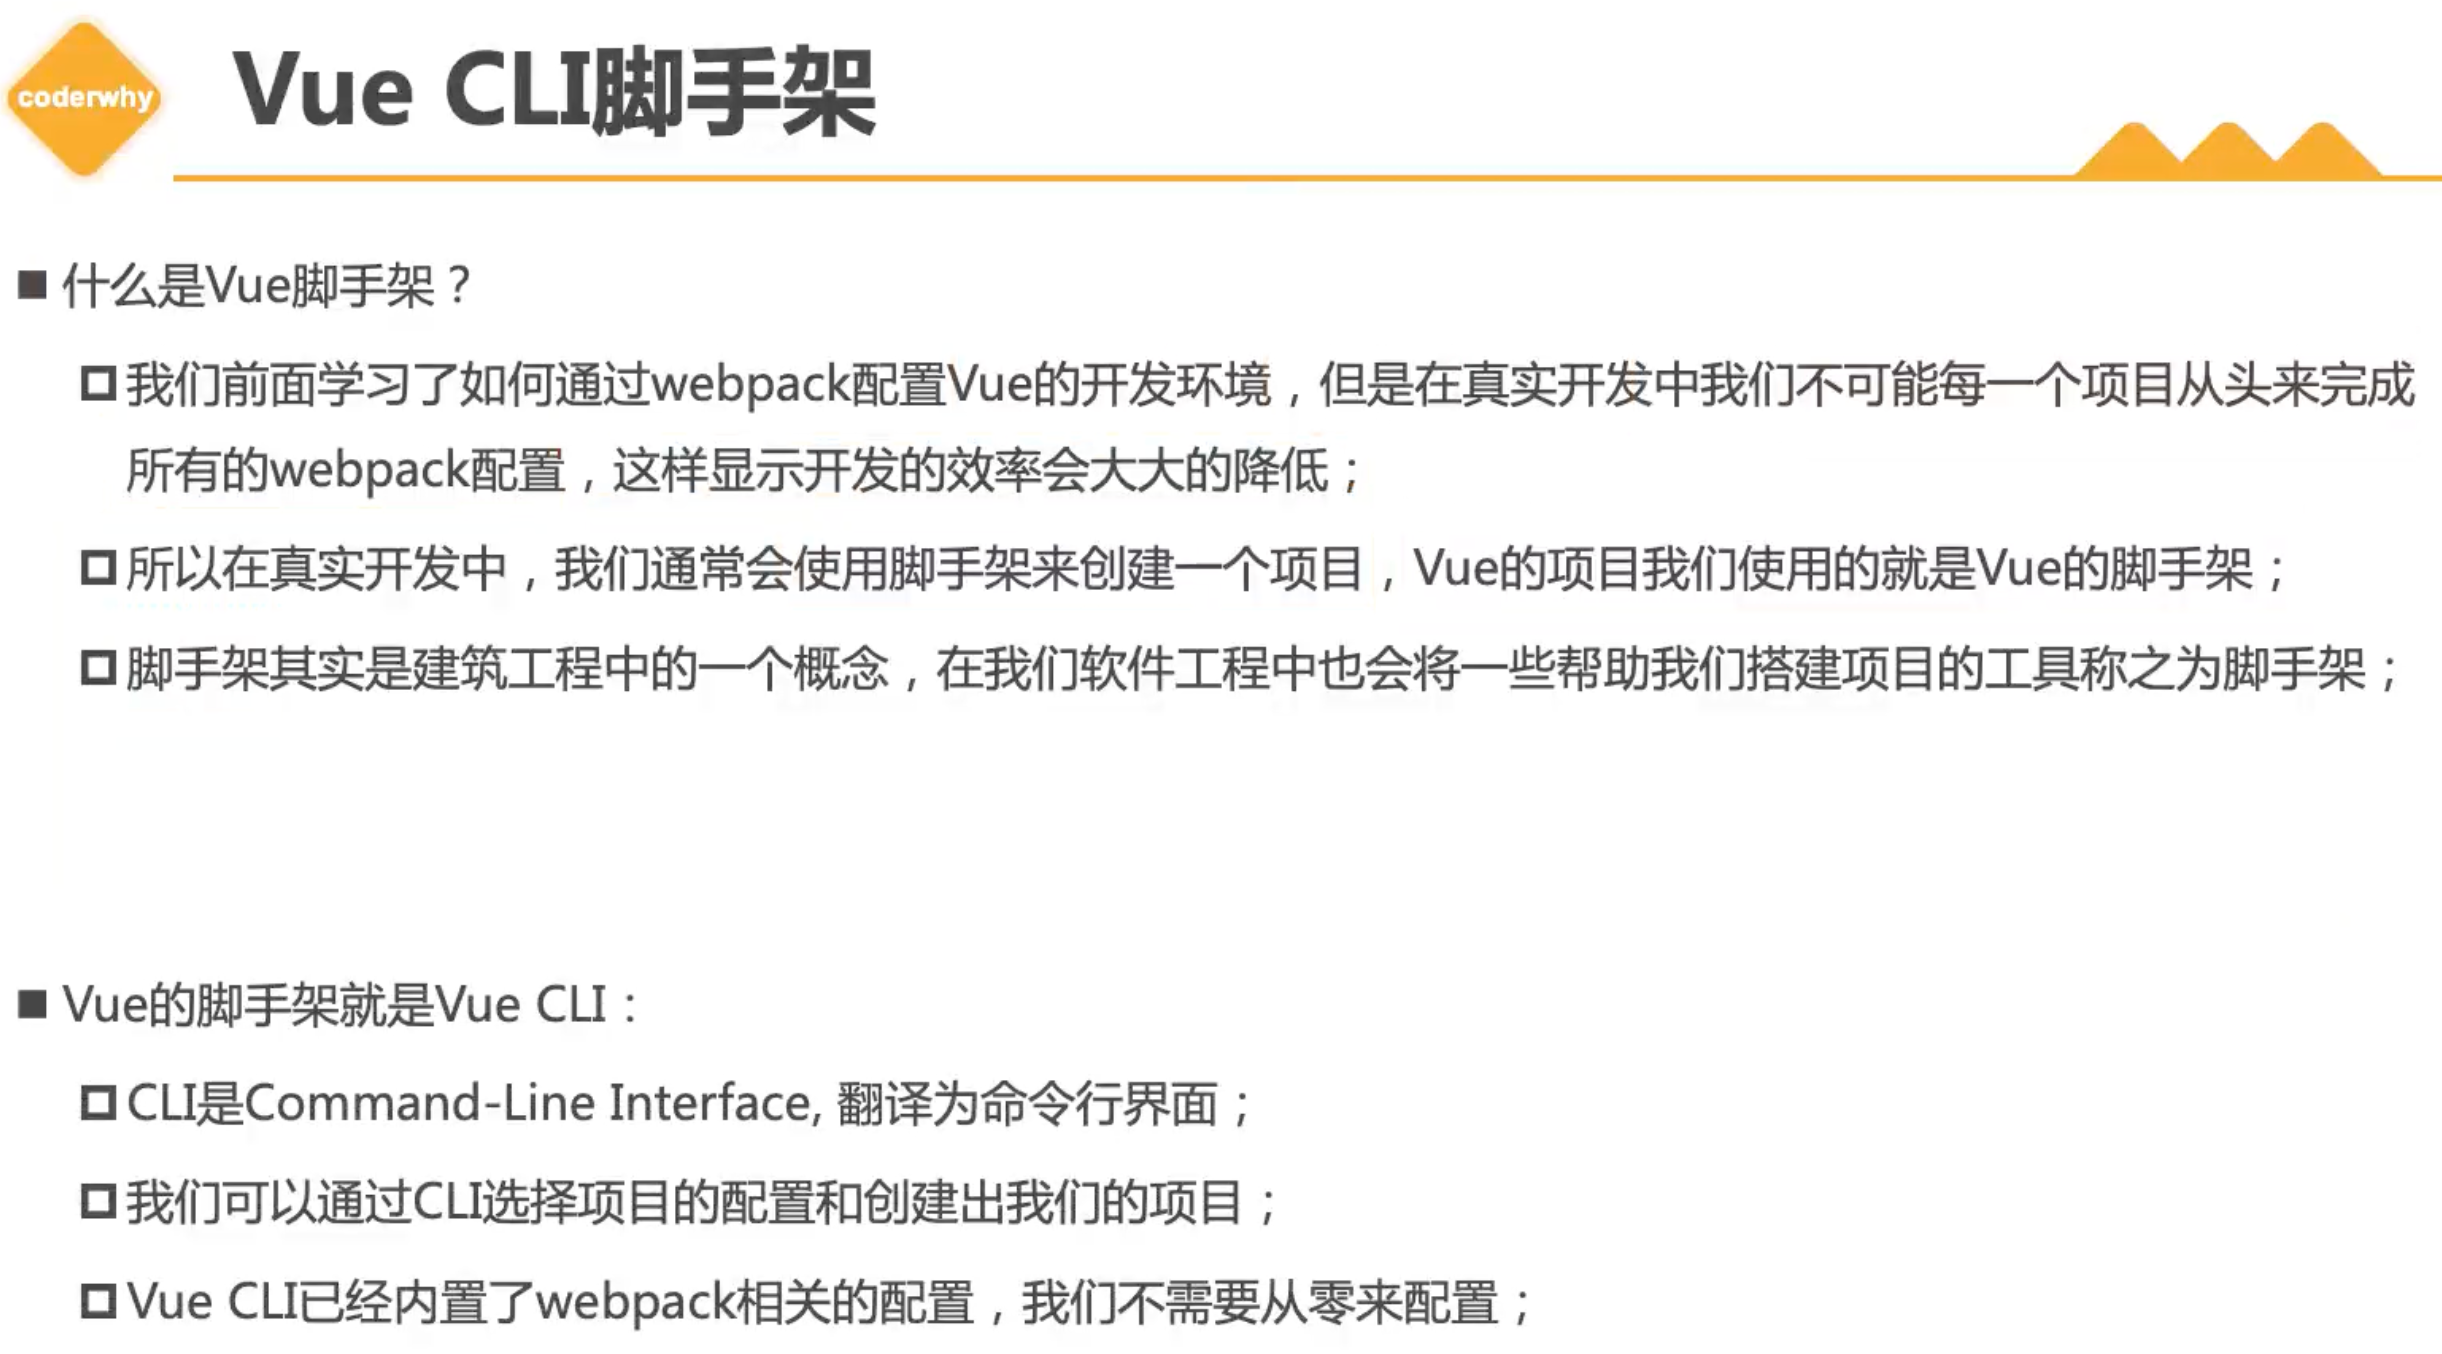
VueCli
安装与使用 1 2 3 4 5 6 // 安装
进入CLI命令行界面后,选择相关配置后自动创建个Vue项目给我们
也可以使用这个可视化WEB界面进行配置。
Vue CLI 原理 1 2 3 4 "scripts" : { "serve" : "vue-cli-service serve" , "build" : "vue-cli-service build" } ,
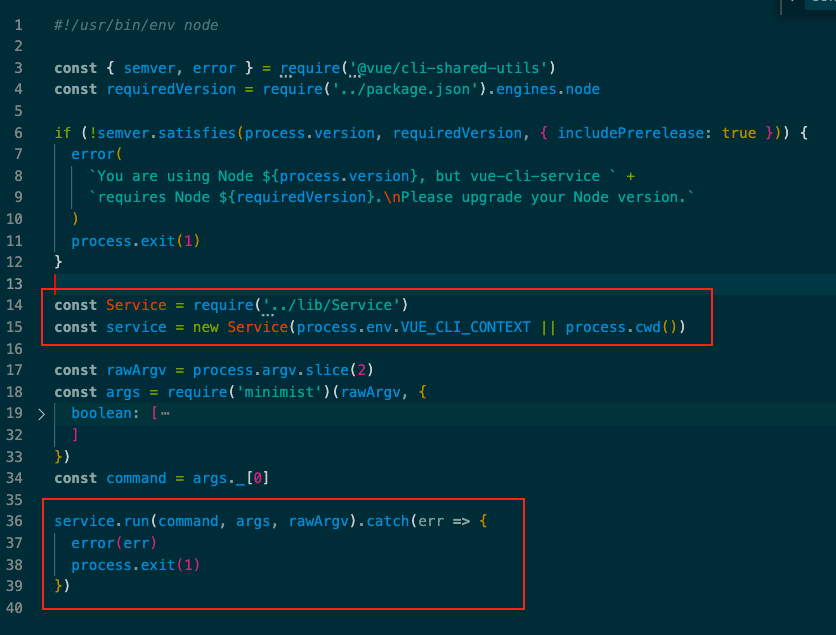
发现以前用webpack命令变了,变成了vue-cli-service。npm run serve其实回去node_modules/bin找对应的命令名。@vue/cli-service/bin/vue-cli-service.js
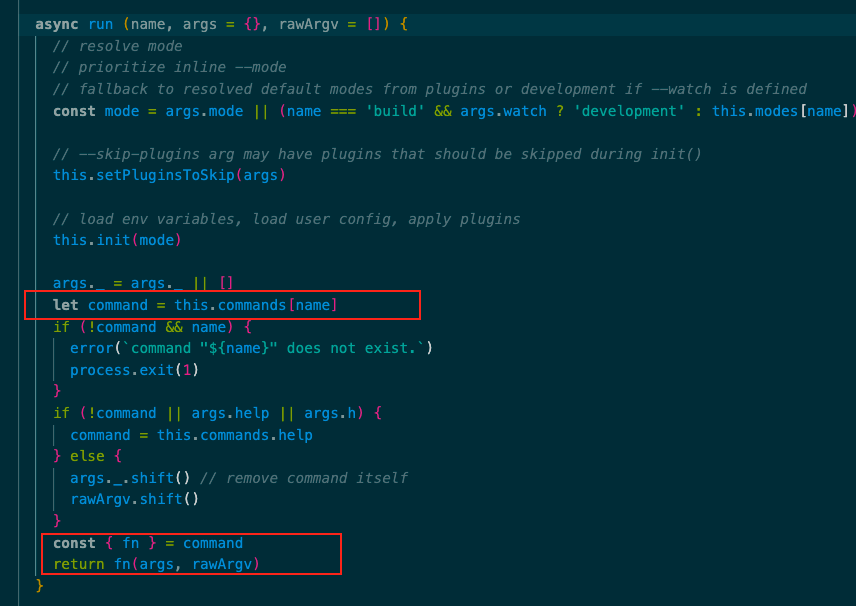
Service 里面代码短短几十行../lib/Servicename是我们运行时的一个参数,比如vue-cli-service serve name就为servethis.commands对象在../lib/Service中没有赋值,那么它在哪里赋值的呢??
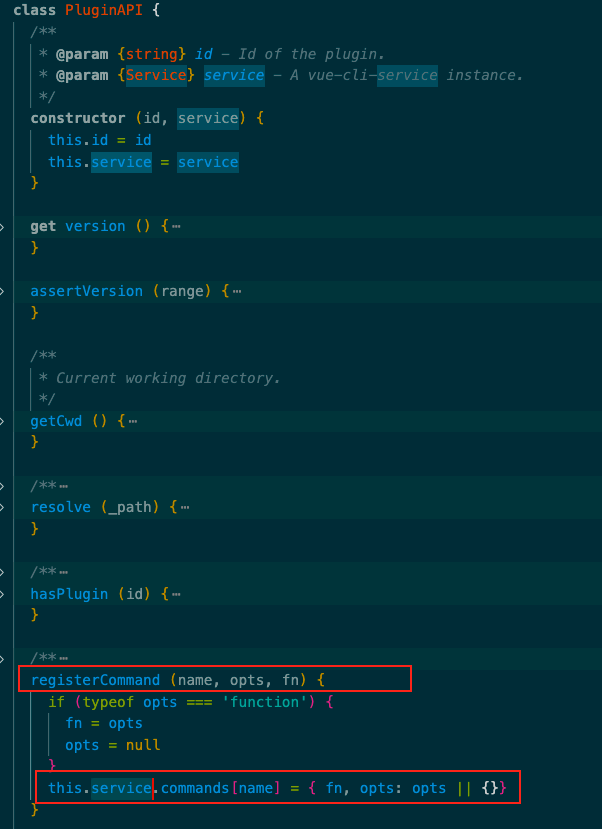
PluginAPI this.commands是在../lib/PluginAPI.js中实现赋值this.resolvePlugins(plugins, useBuiltIn)方法
resolvePlugins: 1 2 3 4 5 6 7 8 9 10 11 12 13 14 15 16 17 18 19 20 21 22 23 24 25 26 27 28 29 30 31 32 33 34 35 36 37 38 39 40 41 42 43 44 45 46 47 48 49 50 51 52 53 54 55 56 57 58 59 60 61 62 resolvePlugins (inlinePlugins, useBuiltIn) {const idToPlugin = id => ({id : id.replace (/^.\// , 'built-in:' ),apply : require (id)let pluginsconst builtInPlugins = ['./commands/serve' ,'./commands/build' ,'./commands/inspect' ,'./commands/help' ,'./config/base' ,'./config/css' ,'./config/prod' ,'./config/app' map (idToPlugin)if (inlinePlugins) {false concat (inlinePlugins)else {const projectPlugins = Object .keys (this .pkg .devDependencies || {})concat (Object .keys (this .pkg .dependencies || {}))filter (isPlugin)map (id =>if (this .pkg .optionalDependencies &&in this .pkg .optionalDependencies let apply = (try {require (id)catch (e) {warn (`Optional dependency ${id} is not installed.` )return { id, apply }else {return idToPlugin (id)concat (projectPlugins)if (this .pkg .vuePlugins && this .pkg .vuePlugins .service ) {const files = this .pkg .vuePlugins .service if (!Array .isArray (files)) {throw new Error (`Invalid type for option 'vuePlugins.service', expected 'array' but got ${typeof files} .` )concat (files.map (file =>id : `local:${file} ` ,apply : loadModule (`./${file} ` , this .pkgContext )return plugins
上面代码中,定义了一个idToPlugin箭头函数,实现的效果就是遍历一个数组中的路径字符串,然后生成一个个含有{id: xxx, apply: require(id) }的对象
其中apply对应的是路径里面的module.exports的代码
后面又加载了一些其他的插件
最后返回这个plugins数组,里面包含了builtInPlugins数组中的插件对象和另一些插件
现在我们知道了这些插件对象在哪里生成的了,但在哪里引入的呢? init
init Service.run方法中有个初始化init方法,这个方法中主要做了四件事:加载环境变量、加载用户配置、应用插件以及应用 webpack 配置。
1 2 3 4 5 6 7 8 9 10 11 12 13 14 15 16 17 18 19 20 21 22 23 24 25 26 27 28 29 30 31 32 33 34 init (mode = process.env .VUE_CLI_MODE ) {if (this .initialized ) {return this .initialized = true this .mode = modeif (mode) {this .loadEnv (mode)this .loadEnv ()const userOptions = this .loadUserOptions ()this .projectOptions = defaultsDeep (userOptions, defaults ())debug ('vue:project-config' )(this .projectOptions )this .plugins .forEach (({ id, apply } ) => {if (this .pluginsToSkip .has (id)) return apply (new PluginAPI (id, this ), this .projectOptions )if (this .projectOptions .chainWebpack ) {this .webpackChainFns .push (this .projectOptions .chainWebpack )if (this .projectOptions .configureWebpack ) {this .webpackRawConfigFns .push (this .projectOptions .configureWebpack )
看到对plugins进行了遍历,我们可以将 this.plugins 的值理解成 resolvePlugins() 方法中 builtInPlugins 数组映射之后的数组(该数组中的每个元素都是一个对象,对象中有 id 和 apply 两个属性),所以这里在遍历时解构出了 id 和 apply,之后调用了 apply() 方法,而根据前面的分析,这个 apply() 方法其实是 resolvePlugins() 方法中箭头函数 idToPlugin 返回的对象中的 apply 属性对应的 require(id) 的结果。而 require(id) 中的 id 其实就是 './commands/serve' 或者 './commands/build' 等
假如这里的 id 是 './commands/serve',那么 require(id) 就是 require('./commands/serve'),即 ./commands/serve 文件中导出的内容,即 id 是 './commands/serve' 时 apply() 方法就是 ./commands/serve 文件导出的内容。
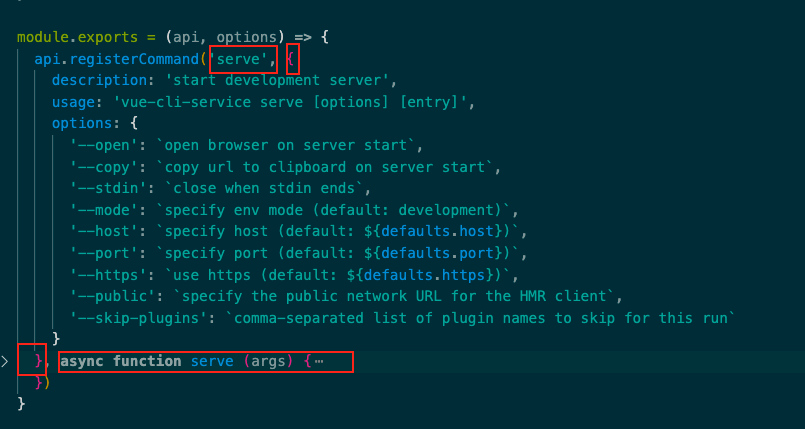
commands/serve.js 导出一个箭头函数,有2个参数,new PluginAPI(id, this)[[#PluginAPI]],这里的 this 是当前的 service 对象。也就是说 ./commands/serve 中导出的箭头函数的第一个参数拿到的是一个 PluginAPI 类的实例对象,之后调用了这个实例对象的 registerCommand() 方法。
serve
this.service.commands 对象(即 Service.js 中 run() 方法中的 this.commands 对象)进行了赋值,赋值内容中就有将 fn 函数赋值进去。因此,之后在 Service.js 中 run() 方法中才能从 command 对象中解构出 fn 函数。
所以,当我们执行 npm run serve 命令时,传入的 command 的值就是 serve,后续执行的 run() 方法的最后执行的 fn() 方法其实就是 lib/commands/serve.js 文件中导出的箭头函数中调用 api.registerCommand() 方法时传入的第三个参数即 serve() 函数了。
总结 使用vue-service-cli xxxx 命令执行时,会去执行@vue/cli-service/bin/vue-cli-service.js的service实例的run方法。而这个实例对应的Service类中有很多方法,主要看run方法。里面有个init方法,先初始化整个环境 。在执行对应command.fn方法
参考链接 Vue CLI 之 cli-service 源码解析(1) Vue CLI 之 cli-service 源码解析(2) Vue CLI 之 cli-service 源码解析(3)
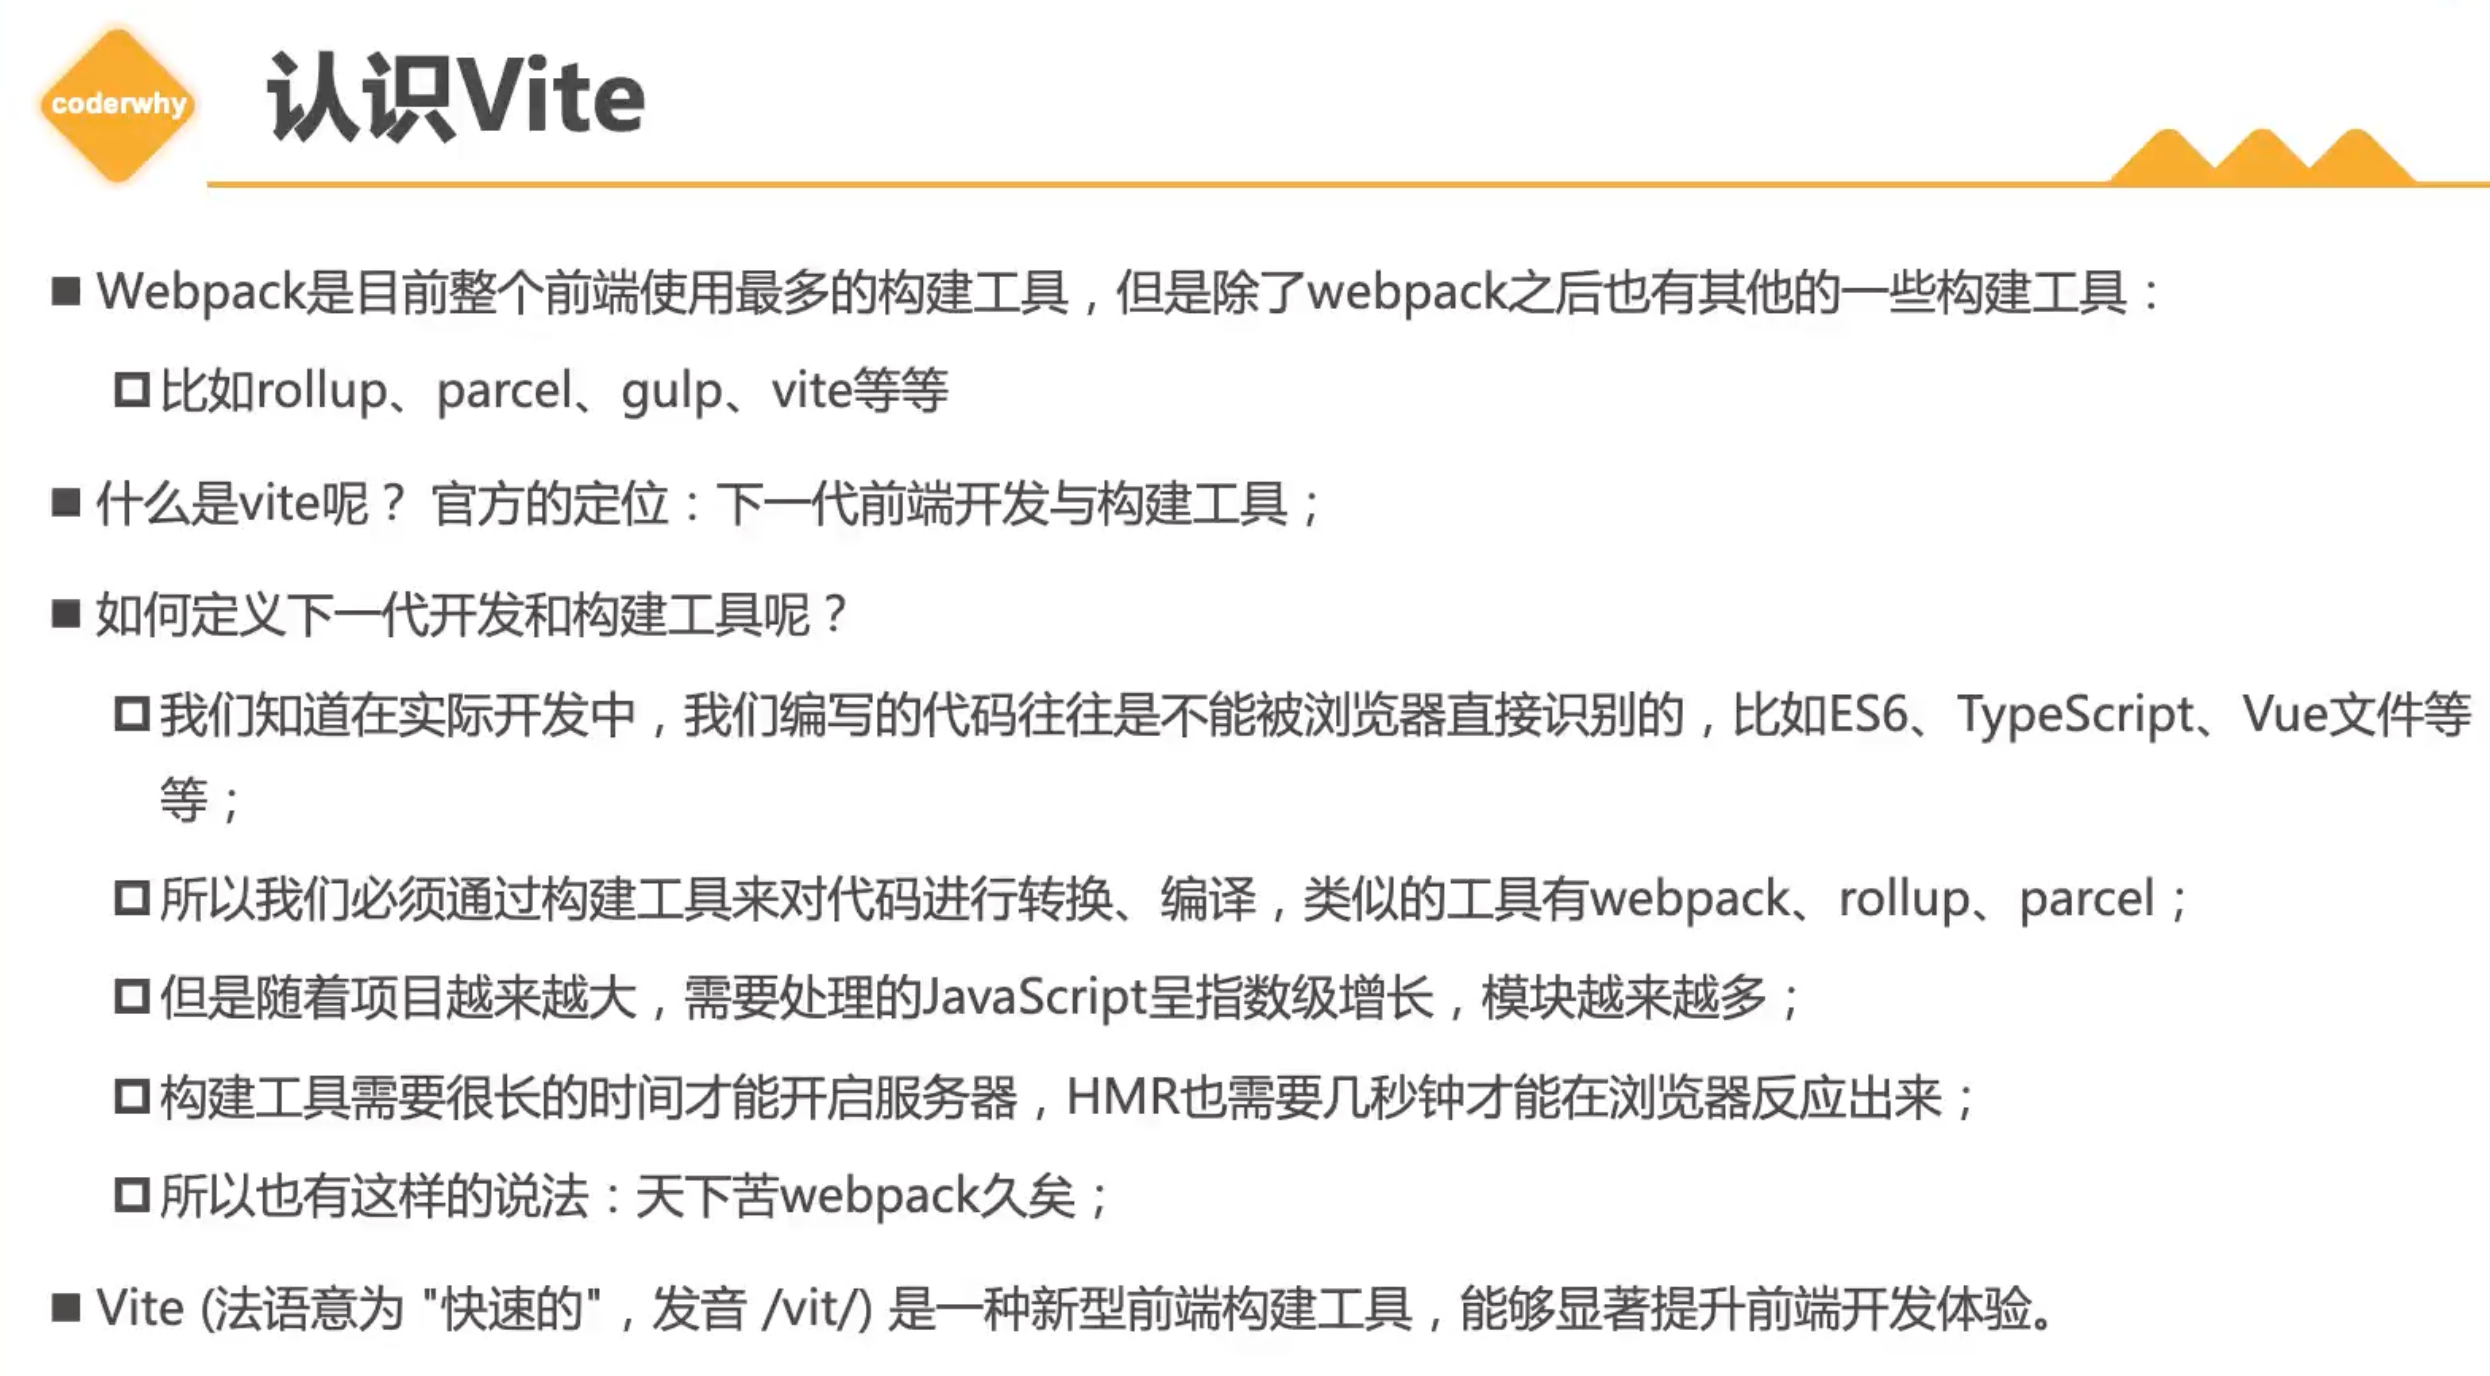
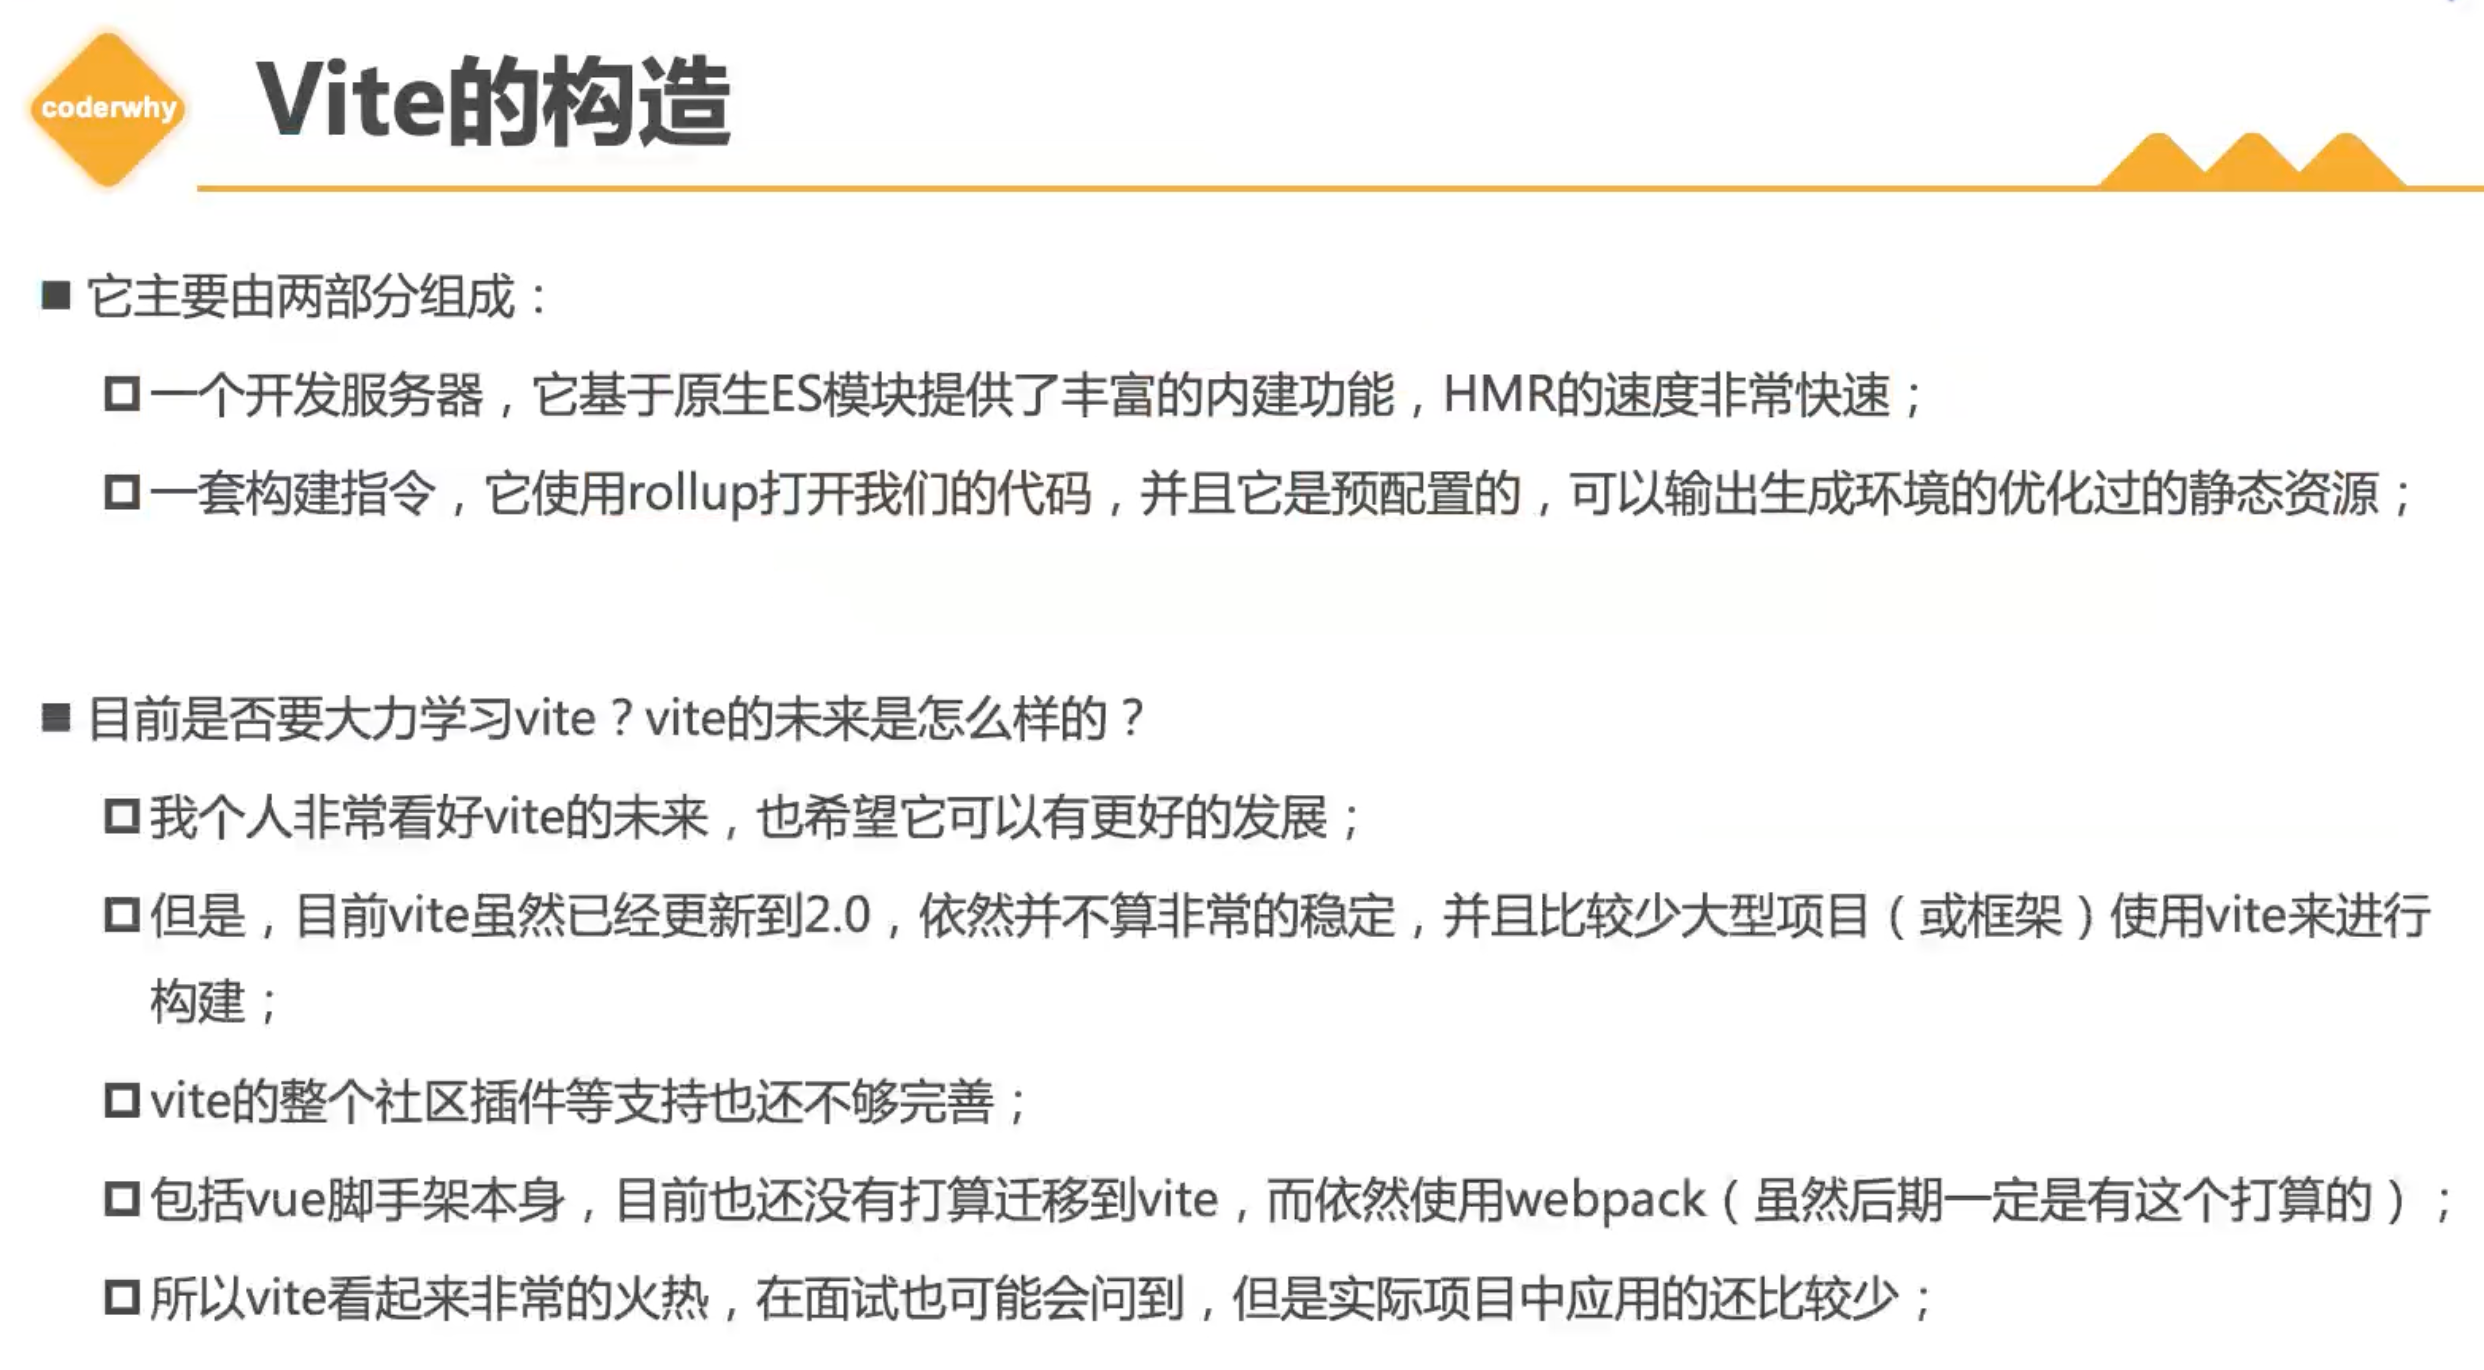
Vite 下一代构建工具
实操 从零开始学,vite官网的教程使用的脚手架,不太好入学。
1 2 3 npm install vite -g 全局安装
1 export const sum = (a, b ) => a + b;
main.js
1 2 3 import { sum } from "./math.js" ;console .log ("hello world" );console .log (sum (20 , 30 ));
index.html
1 2 3 4 5 6 7 8 9 10 11 12 <!DOCTYPE html > <html lang ="en" > <head > <meta charset ="UTF-8" > <meta http-equiv ="X-UA-Compatible" content ="IE=edge" > <meta name ="viewport" content ="width=device-width, initial-scale=1.0" > <title > Document</title > </head > <script src ="./src/main.js" type ="module" > </script > <body > </body > </html >
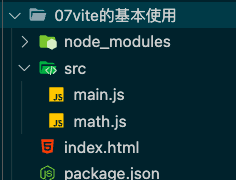
写些简单的js,并使用ESM模块化去导入使用。
运行vite,发现启动了3000服务
注意点: .js后缀了,直接可以使用文件名,因为vite帮我们做了处理,导入第三方后,如lodash库,若没有使用构建工具去处理的话,我们可能需要导入lodash里面好多依赖的方法,但使用了vite后,只需要导入正在使用的js文件即可。
css支持 vite不像webpack,引入css需要配置css-loader, style-loader直接使用即可。
less 编写less文件
1 2 3 4 5 6 @fontSize: 18px ;@fontColor: red;.title {font-size : @fontSize ;color : @fontColor
安装less依赖
使用js插入一些dom元素
1 2 3 4 5 import "./less-style.less" ;const p = document .createElement ("p" );className = "title" ;innerText = "pppp" ;document .body .appendChild (p);
配置poStcss 对浏览器的某些CSS属性做浏览器设配
1 npm i postcss-preset-env
创建postcss.config.js
1 2 3 module.exports = {"postcss-preset-env" )],
ts 创建个ts
1 2 3 export default function (num1: number , num2: number ): number {return num1 + num2;
1 2 3 import xxx from './ts/demo.ts' xxx (1 , 2 )
发现vite默认就支持ts
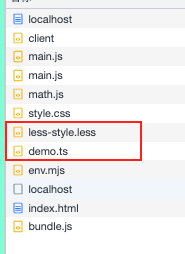
connect服务器 查看浏览器的network发现,加载了ts与less的静态资源。嗯?浏览器是不会解析这种文件,点击ts、less查看文件,发现是esm的js代码。为啥呢?
原来是vite的本地服务器connect帮我们做了转换,我们的静态资源到浏览器的时候,vite的connect服务器帮这些浏览器不识别的后缀文件做了esmodule的js的转换(浏览器可以加载这种js文件)。 所以浏览器加载后,可以使用这些js代码,并执行执行。
Vue 看看vite对vue的支持
首先安装vue3的依赖
创建个.vue单文件 ./src/vue/App.vue
1 2 3 4 5 6 7 8 9 10 11 12 13 14 15 16 17 18 19 <template>
main.js内使用vue的createApp并挂载到index.html内
1 2 3 4 import { createApp } from "vue" ;import App from "./vue/App.vue" ;createApp (App ).mount ("#app" );
在index.html新增个id为app的div标签
1 2 3 <body > <div id ="app" > </div > </body >
运行vite
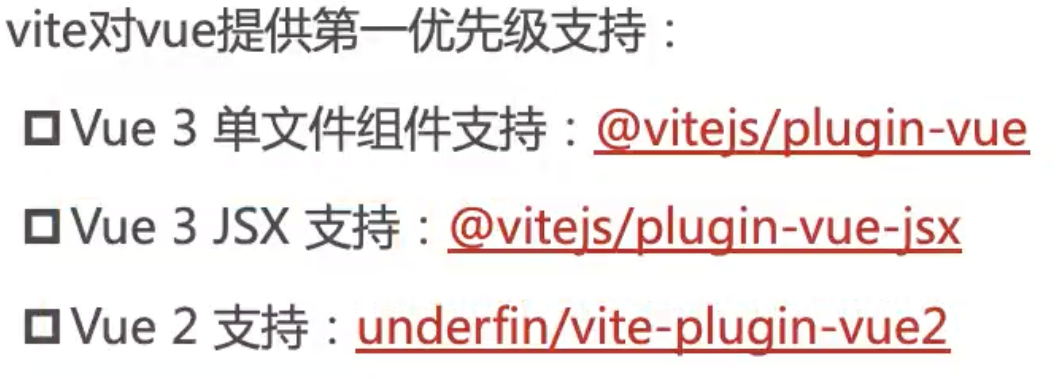
1 npm i @vitejs/plugin-vue -D
安装的这个依赖是vite的插件,那么就需要我们进行配置了。vite.config.js
1 2 3 4 5 6 import vue from '@vitejs/plugin-vue' export default {plugins : [vue ()]
因为当前我的@vitejs/plugin-vue和vue版本都挺高的,所以不用装@vue/compiler-sfcnpx vite就可以看到渲染出来了。
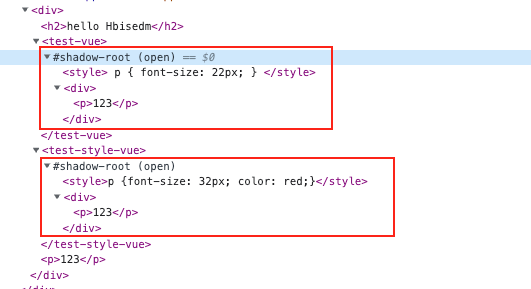
全局自定义元素 TestCE.vue
1 2 3 4 5 6 7 8 9 10 11 <template>
在main.js中定义全局自定义元素
1 2 3 4 5 6 7 8 import { defineCustomElement } from "vue" ;import TestCEVue from "./vue/TestCE.vue" ;const testVue = defineCustomElement (TestCEVue );const styles = ["p {font-size: 32px; color: red;}" ];const testStyleVue = defineCustomElement ({ ...TestCEVue , styles });\define ("test-vue" , testVue);define ("test-style-vue" , testStyleVue);
不用写import语句引入组件,直接使用就行。
1 2 3 4 5 6 7 8 <template>
上面的./vue/TestCE.vue的style不需要写scope。这个style不会污染全局的style。
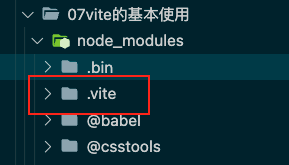
预打包 vite预打包后的结果
